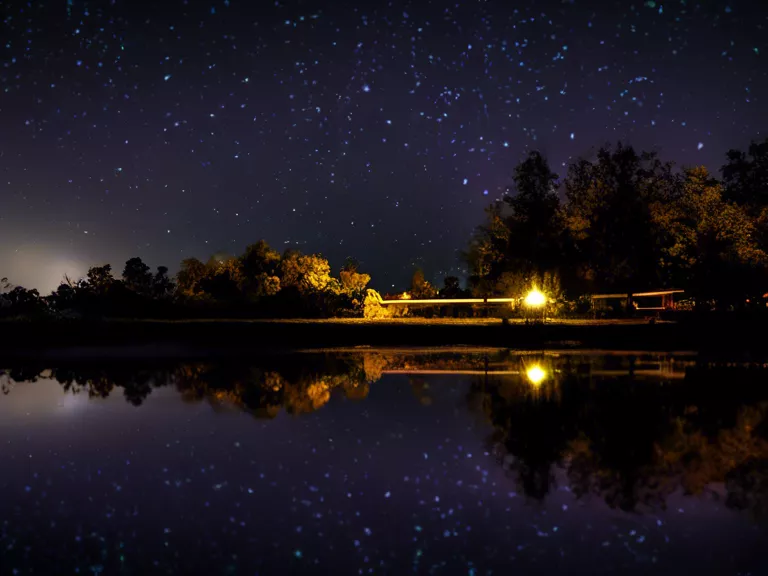
Night photography can be both challenging and rewarding. With the help of editing tools like Lightroom and Photoshop, beginners can enhance their night photos to achieve stunning results. In this guide, we'll walk you through some basic editing techniques to improve your night photography skills.
Firstly, it's essential to shoot in RAW format to capture as much data as possible. This will give you more flexibility when editing your photos later on. Once you have your RAW files, the next step is to adjust the exposure. Since night photos tend to be darker, you'll likely need to increase the exposure to brighten up the image.
Next, pay attention to the white balance. Night photos can have a cool blue tone, so adjusting the white balance can help correct the colors and make the image appear more natural. You can also play around with the contrast and clarity settings to make your photos pop.
One of the most crucial aspects of night photography editing is reducing noise. Night shots often have a lot of digital noise due to high ISO settings. Use noise reduction tools in Lightroom or Photoshop to clean up your images and make them look sharper.
Don't forget to crop and straighten your photos to improve composition. Sometimes, a slight crop or rotation can make a significant difference in the overall look of the image. Lastly, experiment with creative effects like adding a vignette or applying a color grading preset to give your night photos a unique touch.
With these basic editing techniques, beginners can enhance their night photography and create stunning images that stand out. Practice, experiment, and don't be afraid to get creative with your editing tools to take your night photography to the next level.
